One of the joys of hobby farming is discovering trends that develop over many seasons. A homegrown tomato plant originally inspired me to start my own garden. Five years later I’m still growing them–and just about everything else that will sprout in Minnesota soil. I still feel like a beginner and often chide myself for not putting more effort into the essentials like weeding, pruning, mulching. But looking back over the long haul, it’s fun to see how far we’ve come.
This was the first year I grew some of our garden veggies from saved heirloom seed. Heirloom seeds are from plants that breed true, meaning the children grow up to produce the same edible fruit as the parent. Heirloom seeds are what our great great grandparents relied on when settling the Midwest because you could reliably reproduce the same crop year after year. Hybrid seeds, by contrast, have many advantages such as disease resistance, better flavor, or yield but are usually good only for one season. For that reason, I’ve decided to become proficient at growing–and saving–heirloom seeds. Personally, I’d rather have a locally-adapted, organically grown seed bank of my favorite garden veggies than rely on mass-produced seeds from the garden section of the hardware store.
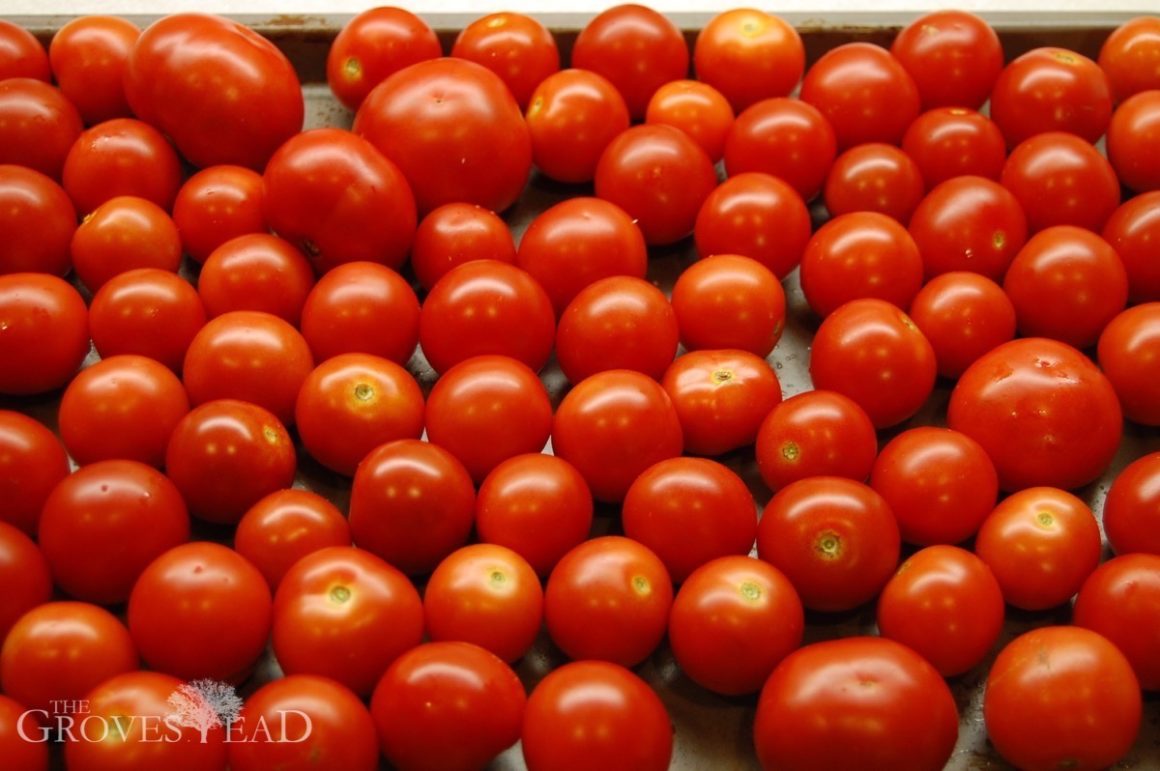
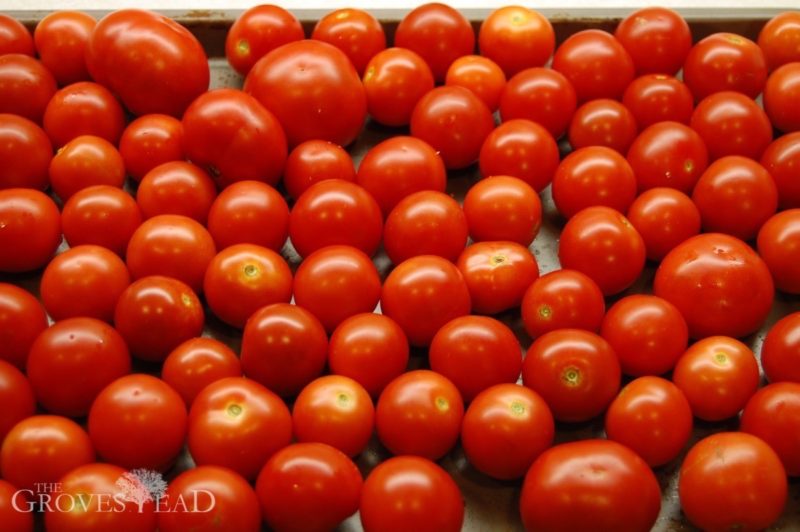
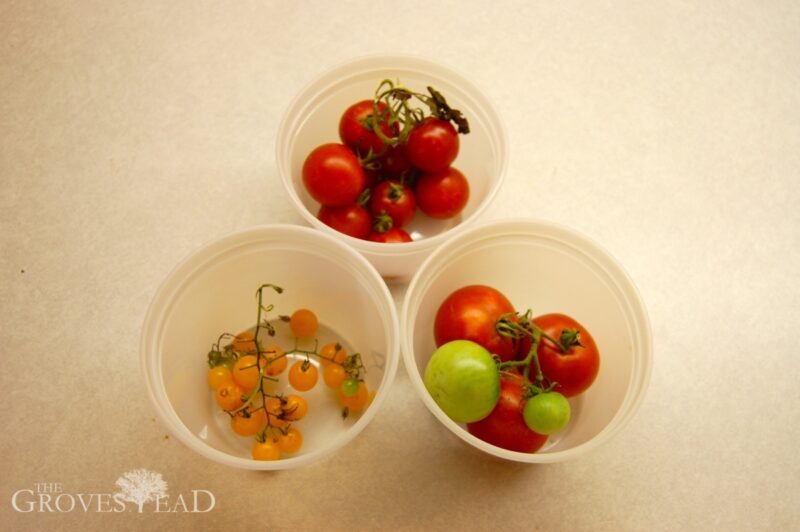
Last year I saved my first batch of several breeds of tomatoes, including cherry (small), rutgers (medium), and the same cherry variety that happened to produce tiny yellow tomatoes. The saved seed all grew exceptionally well, and in fact germinated better than my store-bought seed.
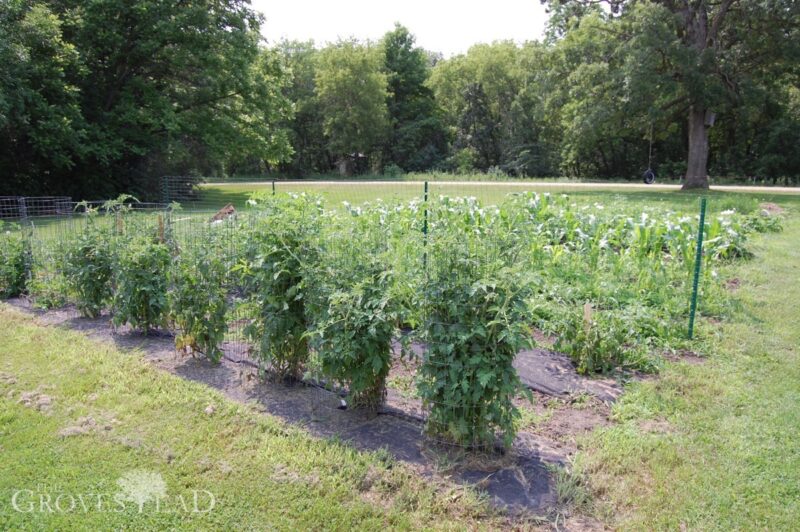
Now I’m saving the second generation of seed. Here’s how:
1. Pick good tomatoes.
If you can distinguish one plant as being a better grower (more disease resistant, better flavor, etc) pick tomatoes from that plant.
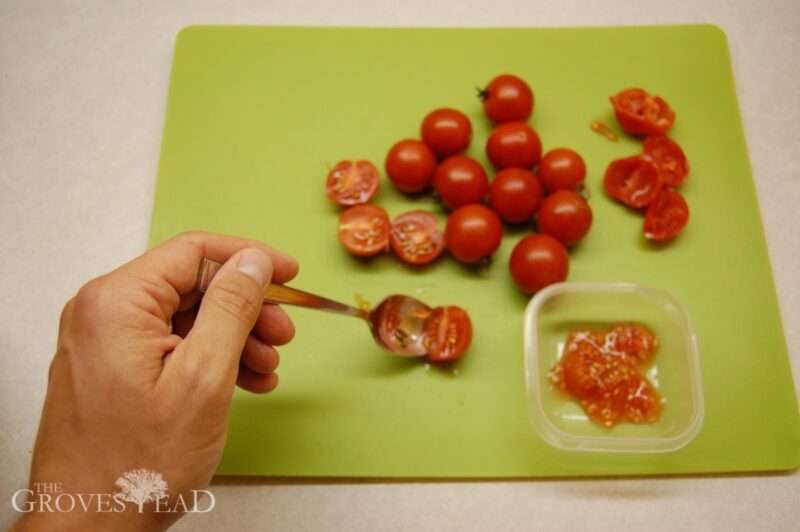
2. Scoop out the goop.
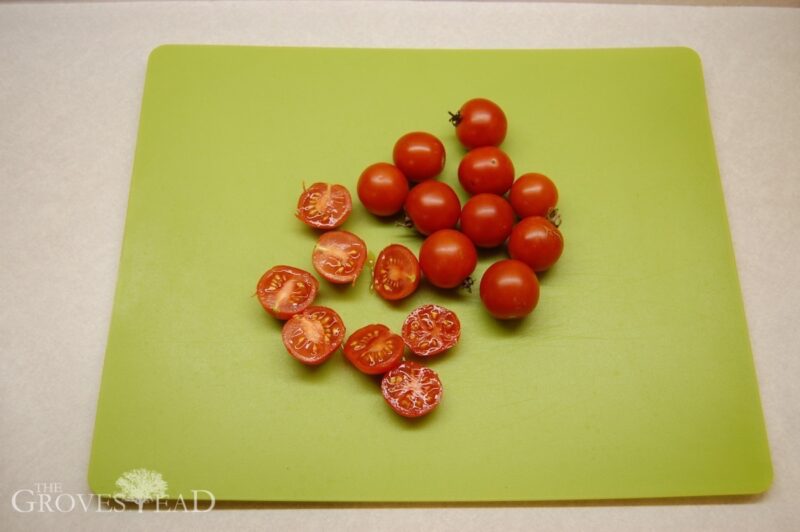
Cut down the middle of each tomato and scoop out the gelatinous goop into a plastic or glass bowl. The seeds are embedded inside the goo, so don’t bother trying to separate.
3. Cover and let ferment.
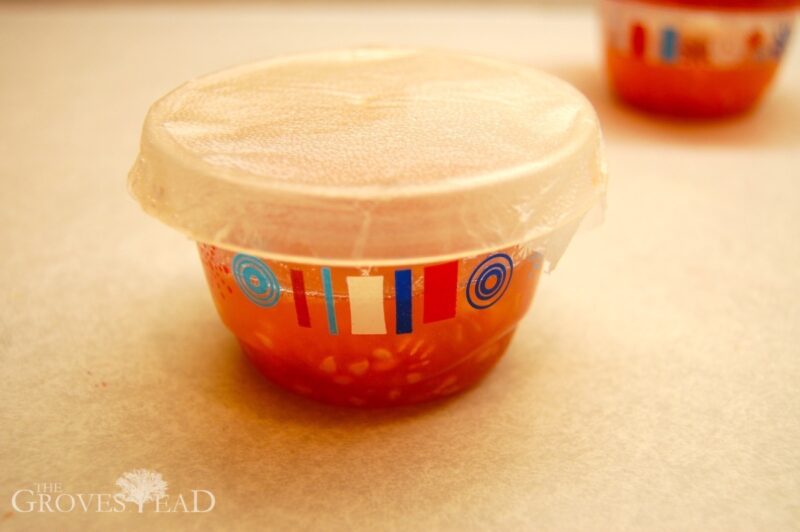
Add a little bit of water to the bowl, enough to cover the seeds. Cover the bowl with an air permeable lid like cloth or plastic wrap with a hole poked in the top. Set on a windowsill or someplace warm for a few days to ferment. Stir once a day and recover. If you see foamy suds atop the mixture, its working. The fermentation process separates the goo from the seed and kills off any pathogens which might carry disease into your next crop.
4. Strain and dry.
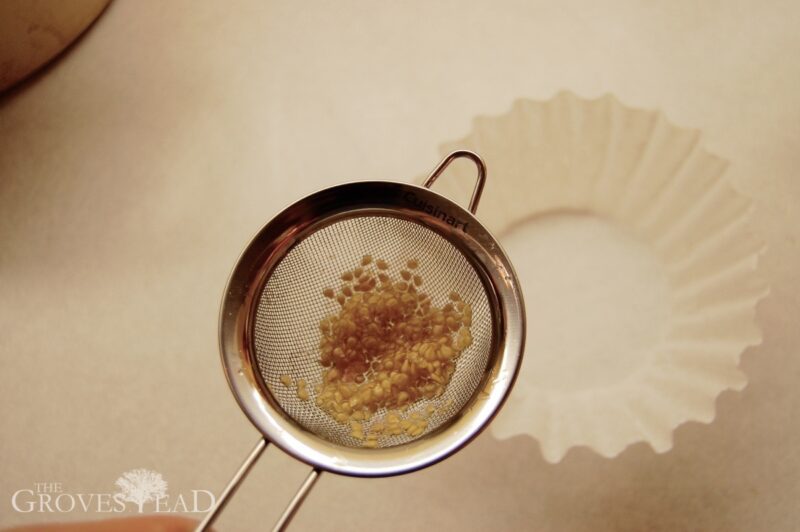
After a few days have passed, use a fine kitchen sieve to strain the mixture and wash off the goop. Spread the seeds out into a coffee filter to let dry for about a week.
That’s all there is to it! Put the seeds in an envelope and store in a cool, dry place until next Spring.


