A few years ago I watched the documentary Back to Eden, which describes how master gardener Paul Gautschi uses a revolutionary but forgotten method to suppress weeds and rebuild soil fertility. If you do any gardening at all it’s a must-see (the whole video is free on the website).
This past season I finally got a chance to test out the method, which has come to be known as “no-till” gardening. Unlike traditional gardening where the soil is tilled under every season, with no-till gardening the soil is always covered and therefore never becomes hard and compact. Also, the weeds are virtually non-existent because of the thick mulch.
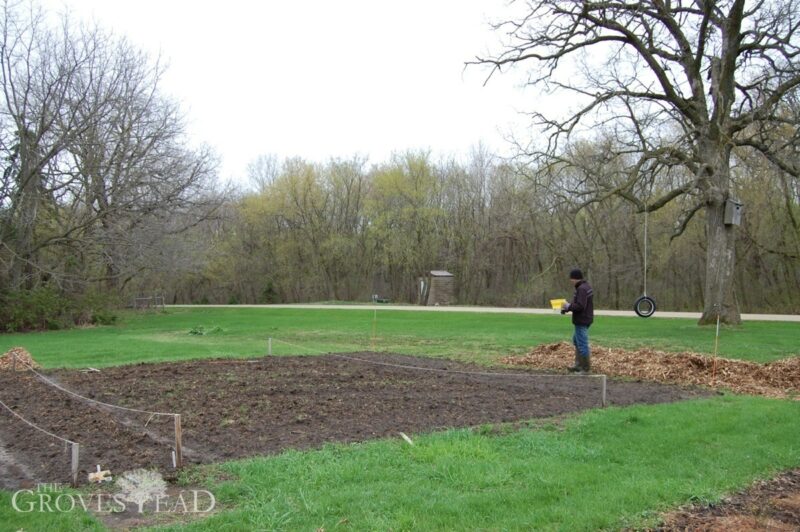
I sectioned off a portion of the garden and set about converting it to a no-till plot.
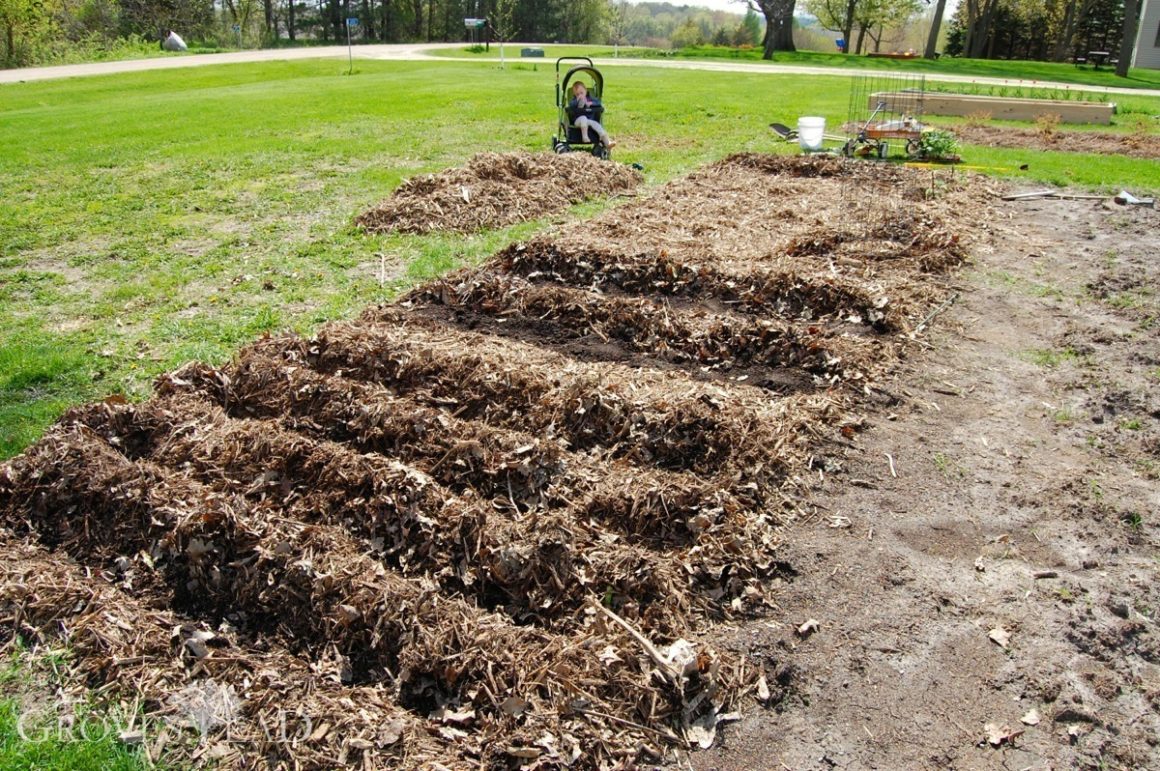
I’m pretty sure there’s no wrong way to create a no-till garden, as long as you put down enough organic matter. My no-till recipe goes like this:
- 1-inch compost
- Sugar (carbohydrates activate the microorganisms in the soil. can also use molasses)
- Biodegradable paper mulch (for weeds)
- Another inch of compost
- Organic fertilizer (a.k.a. chicken droppings from the last coop cleanout)
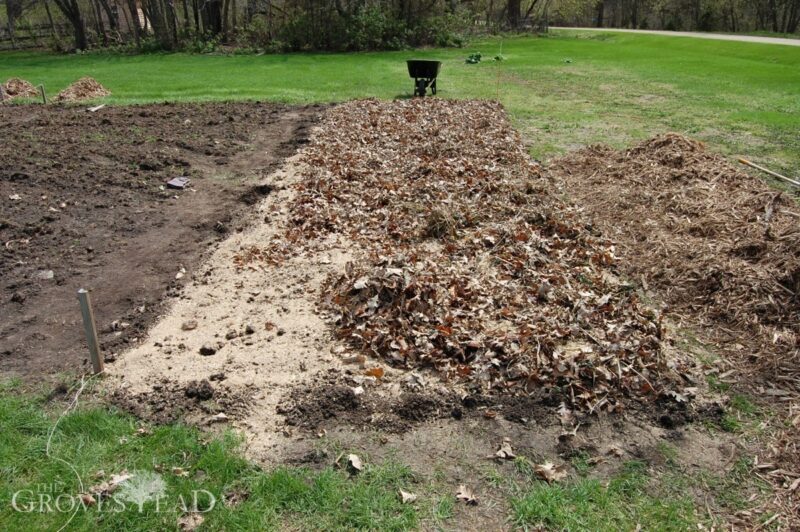
- Leaves
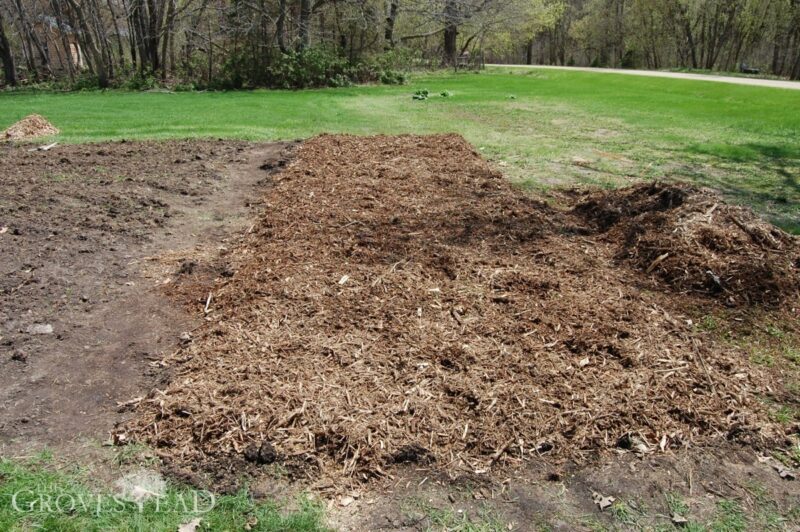
- 4-inches shredded woodchips
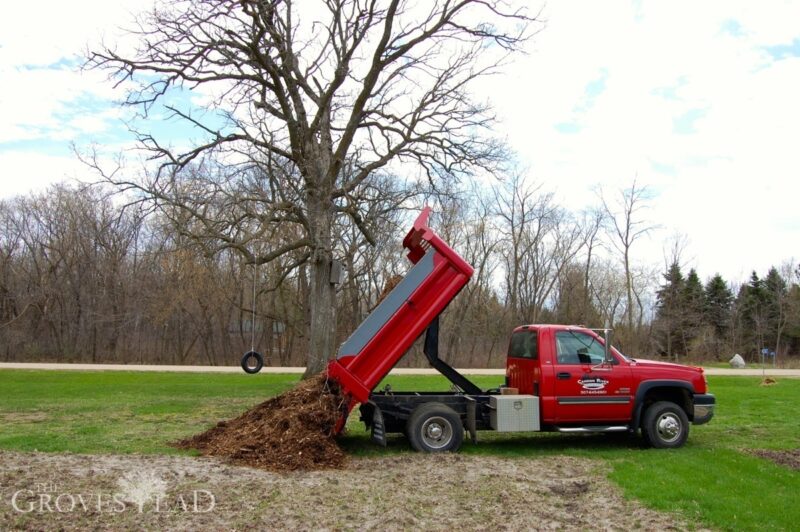
Wood chips arrive.
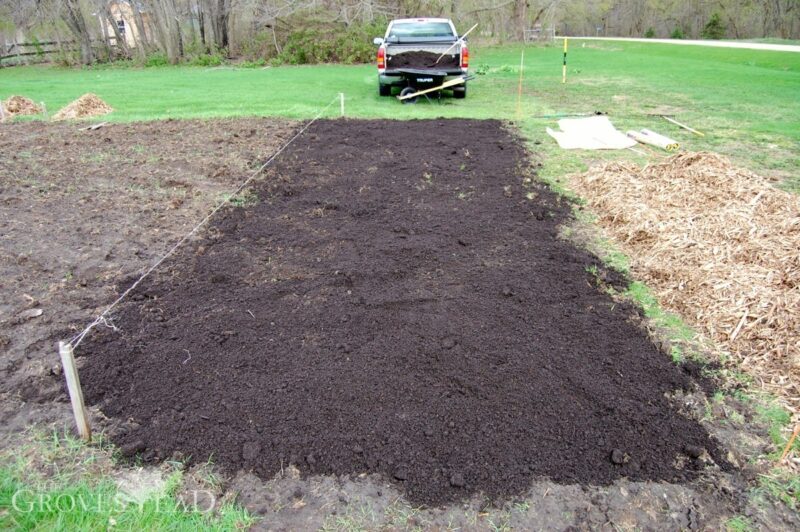
Bare soil is covered with 1-inch compost.
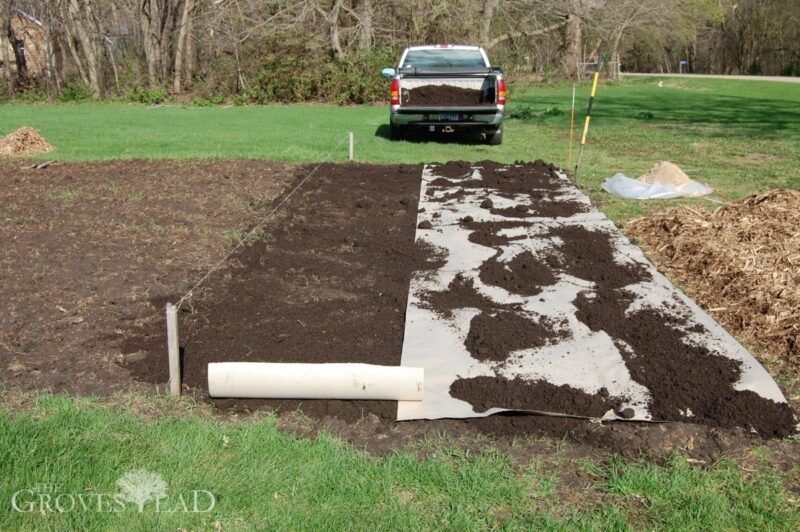
Paper mulch from the garden store acts as a weed block.
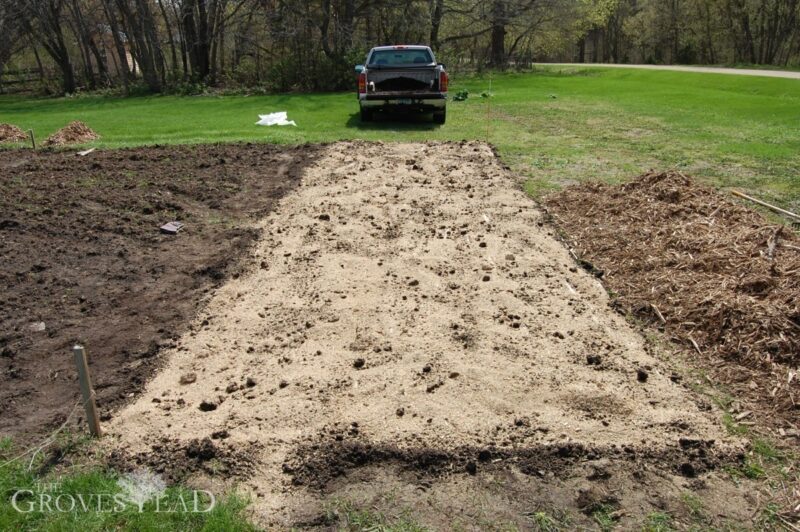
Pine shavings from the chicken coop.
A layer of leaves.
The shredded wood chips are put down last.
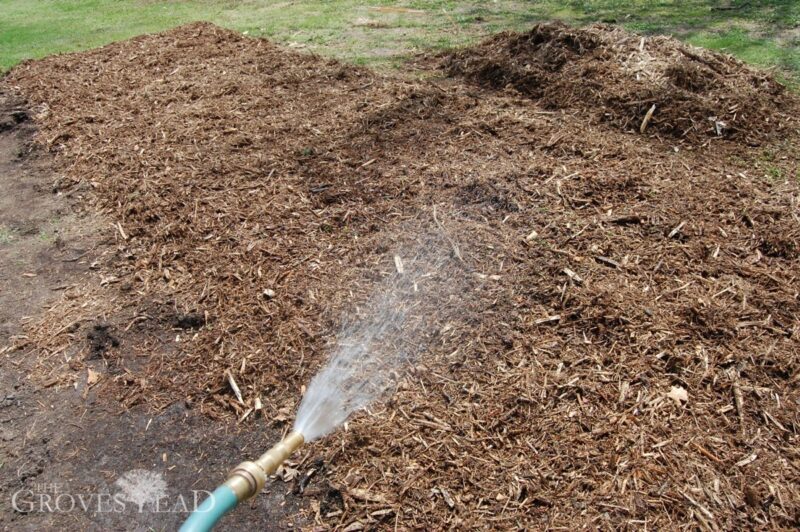
Final step is to soak everything thoroughly.
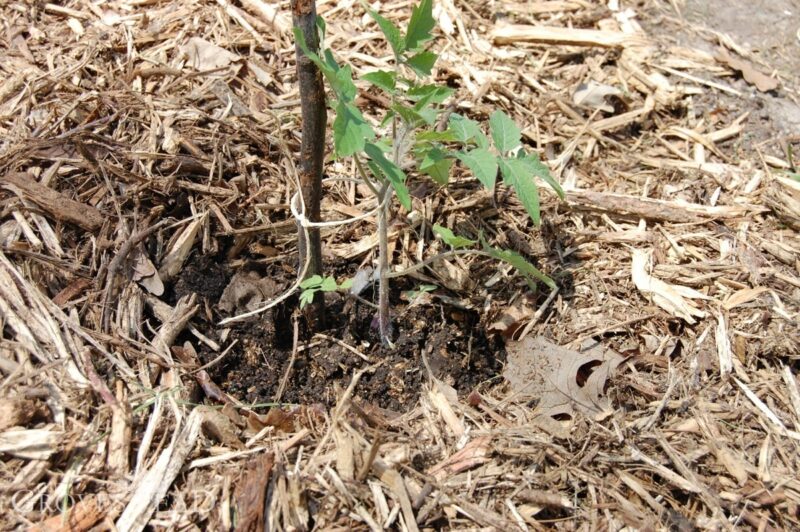
I came back two weeks later to plant the tomato seedlings and found the ground beneath the wood chips was still moist from this initial watering (it hadn’t rained since).
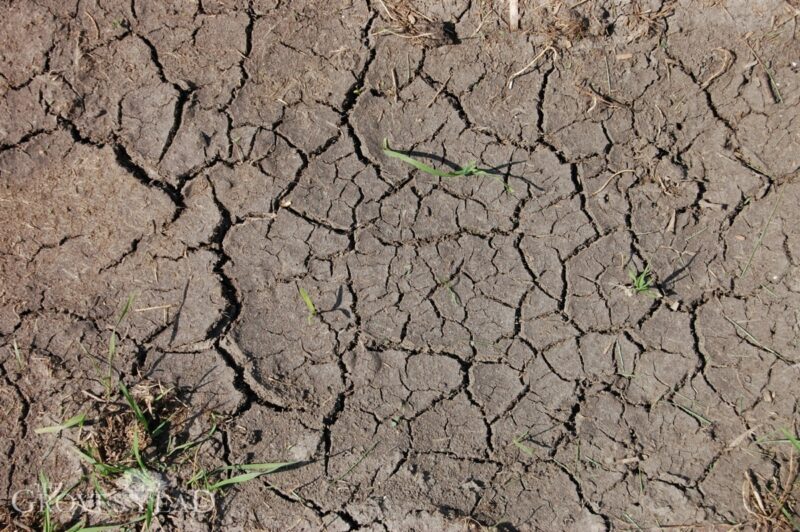
While the ground right next to it was hard and cracked.
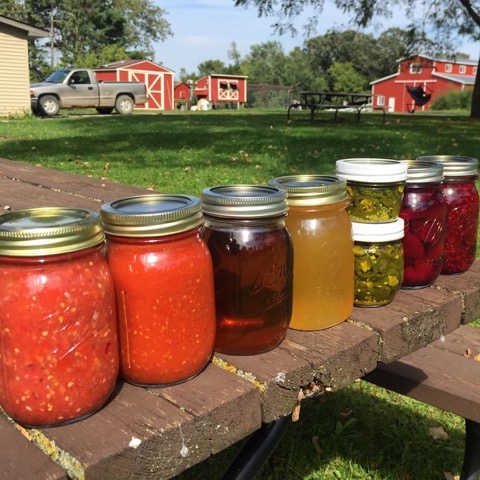
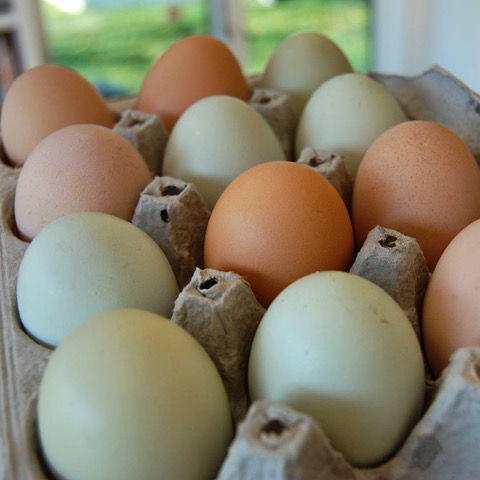
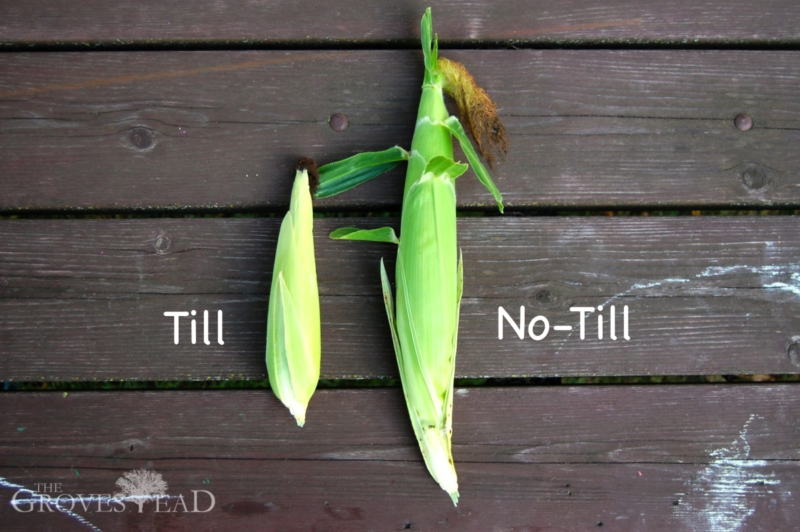
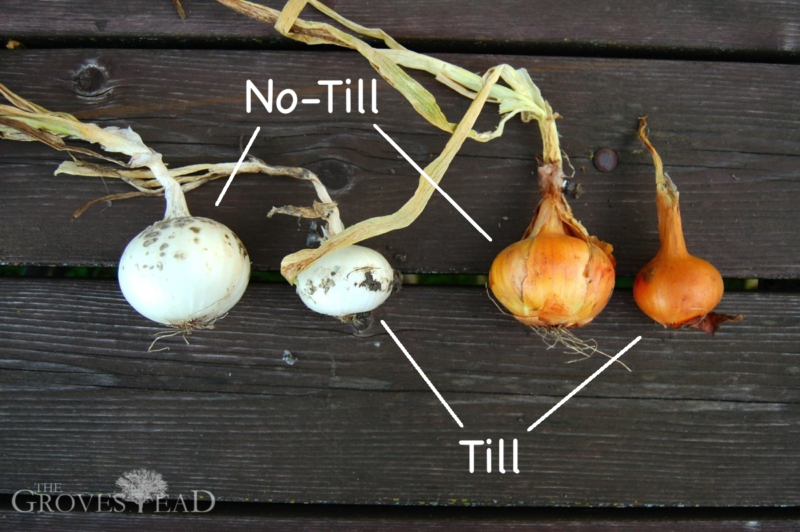
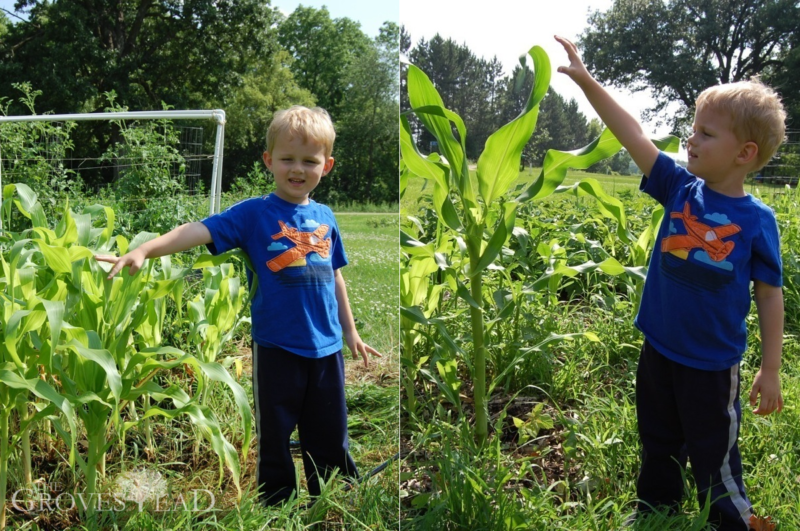
The results speak for themselves:
There was a significant difference in both the growth of the plants and the size of the produce from the no-till plot.
However, there were a couple of drawbacks. There is a cost to getting the woodchips, and the general prep was a little more than just hoeing dirt into rows. But the time saved weeding more than makes up for it. The biggest problem I experienced was low germination rates. Many of the direct-sown seeds did not germinate. But of the ones that did, or of the transplants, they grew significantly better with far less input (I never watered the no-till plot after initial planting the whole summer). I have a couple of theories as to why the seeds didn’t sprout. Mainly, the wood chips have a tendency to fall back over the soil where the seed was placed, making it more difficult for the seedling to sprout. Also, since the black soil wasn’t exposed, the ground would have been cooler in that plot. Some vegetables like corn require very warm temps to germinate.
So as I said it was definitely a success but also had some challenges. I will continue to grow the no-till plot next year and, as always, keep learning.











32 comments
Thanks for sharing your experience.
I love my no-till garden. We’ve used this garden for 2 seasons now, and I introduced potatoes this last year, which were quite small at harvest. You bring up a good point about the ground possibly being too cold, and affecting germination, I hadn’t thought about that. My total plot is only 18’x24′, so I didn’t do a till garden for comparison. I’m glad you did, it’s fun to see the difference!
My “recipe” was:
– newspaper mulch
– paper grocery bag “mulch” around the edges / under the chicken wire (thicker – to prevent weed-creep from the yard)
– 2 inches of clean dirt (Home Depot)
– 2 inches of organic compost (Home Depot)
– 4 inches of shredded wood-chip mulch (free from local tree service!)
– Let sit from fall until spring, to get the benefit of snow and the natural settling of it all
The tomatoes were fantastic! And the lack of weeding/watering is hard to beat!
Thanks for your post!
Great info! I like the grocery bag mulch idea — the yard creep is hard to prevent.
I use white vinegar for edge growth(I keep a wide line between my garden and my grass)… I have a huge 1-acre garden plot so, I don’t buy natural supplies due to cost… We have a lawn rake and a wood chipper….we just dump and spread it, I suppose. I compost on top of the garden. Each year gets easier, the soil gets better and better. I started small and kept getting bigger… Honestly, I look at it this way. Look under your trees…..see the ground cover and soil? That’s what you’re trying to create in your garden. One important thing: You can use grass clippings but, not when the grass is seeding or during the growing season due to the heating process of green material during composting. I use it when I’m dormant and conditioning for next year. It makes excellent compost with leaves and wood chips. That’s all I do…..I pile on top of the last bit never taking it away. Eventually, you’ll have a weed-free garden.
Hi Jeffrey: can you explain a little more the method of paper bag and wire at the edges of the plot to keep weeds from creeping in to the plot? thanks so much.
On Pauls’ Back to Eden page, I do believe he says to put down the newspaper, then add 4-6″ of composted (or not) cow or horse manure, then 3-4″ of wood chips. That’s how I plan on doing mine. The manure is free from my Pastor who says “come and get it all you want”, and the city is giving us access to an old aged huge pile of wood chips. As much as we want. How revolutionary! Isn’t this awesome! You put in all the work up front and then add a few layers as the years go by, and you get this wonderful soil that grows the healthiest, best tasting food out there! You work less and less as you get more and more yield.
Any comments on how the food tastes?
Being the over-analyzer that I am I looked up a bunch of no-till “recipes” before starting out. But like I said, I’m sure there’s no wrong way to do it, as long as you have thick enough mulch layer. If you have access to free wood chips, that’s a huge win. It’s the biggest expense for me.
As for taste — didn’t really compare one to the other, but good idea!
Thanks for sharing your trials and results with the world. We need more courageous and creative gardeners like you! Spread the covering, spread the word!
I visited Paul’s Gautschi’s Garden a few years back after watching the film. It truly is a remarkable method that, as you say, has been long forgotten by our technology-driven ‘solutions’ which are in fact, turning out to be unsustainable problems.
We garden this way at our church to feed a local food bank, but also to inspire our faith community, friends and neighbors. The layers in our initial setup were about a 1/4 inch of newspapers (so glad it wasn’t windy that day), a couple inches of public compost (yard waste & trimmings, etc. collected and composted by our county) and about 6 inches of wood chips from a local tree service.
We laid that in the Fall, and the following spring we planted. That Fall we put down another three inches of chips, and last year we planted our second crop. This past Fall we did not put any more chips, as it had not sunk down as far. I suspect that this coming Fall we may have to add more.
Like you, we had some issues with germination. But the plants that did, even though the plant may have looked spindly, produced all summer and then some. We had sugar snap peas all year, the first year. They just never stopped. Yukon gold potatoes bigger than softballs. Zucchini as big as a grown man’s thigh. And the best sungold & sweet million cherry tomatoes, hands down.
Anyway, keep spreading the covering and spread the word!
Great report! I’m looking forward to expanding the plot next year and fitting in other crops I didn’t have room to try.
Excellent. I’m in coastal Washington State where it’s cool and very windy. I also had issues at planting time and have incorporated using milk-jugs as mini greenhouses. I cut off the bottoms & I put a few extra holes through the middle of the jug for some cross ventilation. Where I plant I do a slight dig-out impression of the lower jug. Plant my seed(s), water deeply with a bit of cinnamon to ward off any fungal growth and then set the jug. I back fill and then poke a hole in the cap to run a bamboo stake through into the soil and screw the cap down to anchor the jug. I then pounce with a jelly bag a bit of DE : Diatomaceous Earth around the outside of the jug to keep bugs & slugs out. I had real good luck with this last year and the few jugs that didn’t do good I just reseeded which prolonged my harvest.
Interesting idea! How did you handle rows of seeds like carrots or corn?
I don’t plant my corn under a milk jug. I do stagger/row plant the seed and plant a bit tightly and because of my wind issues I have to put up stakes. My other issues is preparing the soil for the seed, specifically cleaning out any weevils. They will attack corn seed fast. The first year I planted corn not one germinated and I dug-in to find out why. Weevil. Carrot grows like a weed here but requires deep soil beds with no rocks. I keep them to a high raised bed. I just broadcast the seed and thin as they grow. The milk jugs are more useful for starting pumpkin, yellow squash, zucchini, cucumber and tomato plants. I prefer the direct to soil seeding over starting in small pots and transplanting. They just seem to grow more happy & healthy this way.
I also built my Eden garden last year in Maple Ridge in the Fraser Valley. Couldn’t have a garden before on my residential “clay” lot. My recipe, newspaper, soil- garden blend from soil producer, (4 inches), garden mulch fron local tree trimmers, fresh from the choppers, no time to compost, and a skim of steer manure from the nursery and my own compost bin. I set it up in the fall of 2013 and planted in March and on. It was a bare bones set up from Paul’s video. I set it off from the rest of the yard with some rails that we had left over from building. The results were mixed. I had medium results on second-year strawberry plants that were already in and only received minimal covering of fresh mulch in the fall and raspberry row and blueberries in pots were second-year transplants and they were fantastic. We’ve been juicing them and having them for breakfast all winter? My kale got better and better all season and we ate off it for months, my zucchini were the largest I’ve ever seen anywhere in my life but my garlic was an absolute failure I’m not sure why, seemed to have been eaten by something or just rotted, in the ground I got about what I put in out of it. The vegetable results were, tomatoes were medium I had covered my pots all with mulch but not done much more to them, cherry tomatoes were great larger ones rarely finish here because the season is too short and my garden too shaded which is a problem for everything in general. The vegetables, lettuce was good, variety of herbs all did well, as well as cucumbers which I grew climbing the rail. My biggest negative was ground crops, they were not as good, the beets just would not grow from seed, radishes were minimal didn’t really finish but carrots were okay we had several feeds off of them tasted absolutely delicious and will plant lots more this year. I also dug a separate little garden in front of the house turned over the lawn covered it minimally with nothing but the mulch and planted leftover potatoes from the kitchen , Yukon golds and Kennebec, they were absolutely fantastic not one marked potato. We started eating them early when they were small and they grew bigger and bigger throughout the summer. . That bed is in front of the house and only get partial day sun. Beans were a winner and I vacuum packed most of them and we’ve been eating them all winter, delicious. I think my mistakes with the underground crops were planting the seed and then covering it again with the woodchips I should’ve left them to get established before I recovered them I did some minimal watering in the summer absolutely love not ever having weeds. I could never have a garden at this location before. LOVE MY GARDEN-So thankful
Hi Donna, thanks for posting your experience. I was able to get about 50% germination on my radishes, but only where the wood chips didn’t fall back over the seeds. So from seed the bare earth definitely needs to be exposed at least until the seedling sprouts. I think the same would go with bulbs and onion sets — keep the wood pulled back until the seedlings are established.
We do no-till and love it. Last year’s garden would have been an amazing success if it hadn’t been for the deer and bunnies. We’ll be taking precautions for that this year. Also, when we direct sowed our seeds we used starter pots to make little mounds for our seeds. Basically we filled the pot with seed starting soil, then dumped it out (formed), then pressed the seed into the soil. This way the seed is graded a hair higher than the mulch and the seedling emerges without getting covered with mulch.
I like this approach, I have been trying to think of other ways to get seeds to germinate. Thanks!
I forgot to mention, we use clean straw instead of wood chips. Much cheaper. We learned the technique when we went to visit a small organic farm (it was for sale) 2 years ago. We also use rabbit droppings for fertilizer.
In fact we put straw in with our rabbits and it shakes out with the droppings, then the chickens scratch at it and then the whole thing into fantastic compost. The biggest job is just carting it from one location to the other.
I plan to try this. I live in western Nebraska and have found soaking hard shelled seeds like corn and okra pouring hot water over them and letting them set overnight helps then germinate much better in my cool soil.
Great idea! I think I’ll try that myself this year.
Are you saying you use fresh chicken manure straight from the chicken coop when seeding? I thought it had to be composted.
Yes, however the plot sits for awhile before planting (ideally over winter) so the manure composts in place. Also, I had a weed barrier between the manure and soil, so it had to break down for several weeks.
Thanks for your info. I live in a nearby town and I am wondering where you get your supplies? Biodegradable paper mulch, compost, wood chips?
I started gardening the Back To Eden way but found it hard to get supplies?? I live in town so only have a small place but if I could get it working I’d probably expand because I love gardening(most of the time anyway).
Oh, yes, where to get the molasses?
You should be able to get dried molasses from any animal feedstore. But I used plain sugar in my original plot. Anymore I skip the extra steps and just use woodchips. The paper and woodchips are the main components.
Check with your county sanitation department (landfill). Sometimes they store woodchips there for free pickup.
Very thankful
to get to know about you
and your grove stead family farming.
For such a long, long time
Christians have been longing for conscience
about our beloved earth and the true use of the soil thereon.
We are praising our heavenly Father for Paul,
and his obedience to what God´s Spirit shew and told him
– to shew and tell us all.
Please, know, that you are WELCOME to visit us in Denmark !
Here we have just started the Eden gardening.
With love in Christ Jesus,
OUR LIFE !!!
Tine.
If we ever make it to Denmark we’ll look you up! Thanks and please keep in touch.
Last year we had some health issues in our family and I had to abandon the no till garden Ive been working with for years, and thus the garden is completely full of grass! Help! It’s thick and I cant imagine how i would get enough mulch to keep the grass down! I live in washington state
Hi Rebecca-
I ran into something similar when I created this experimental plot. See my writeup here: https://www.thegrovestead.com/back-to-eden-no-till-garden-revisited/
If the weeds have established themselves you’ll basically need to start again with some sort of biodegradable barrier. If you have enough of it, cardboard works best. It will suppress all but the toughest weeds. Newspaper also works but I don’t like putting all that ink in the ground. You can buy huge rolls of painters/builders paper for very cheap. Around $10 for 3×150 feet.
Spread the barrier out over the weeds and put the mulch down on top. Eventually the weeds will die and the new mulch will combine with the old mulch to form a single layer again.
Another option: Place plastic tarps/sheeting over your garden for ~2-4 weeks. You’ll lose growing time but you’ll kill most of the weeds without having to reapply mulch. You could also plant right through the sheeting for one season and remove it at the end of the year. Hope that helps.