The trees are tapped and the sap is flowing. Finally its time to turn those gallons of sap into delicious maple syrup! If you have not already read part 1 and part 2 of this series you may want to go back and do that first. In this post I’ll cover the evaporating process and finishing and bottling maple syrup.
Evaporating the sap
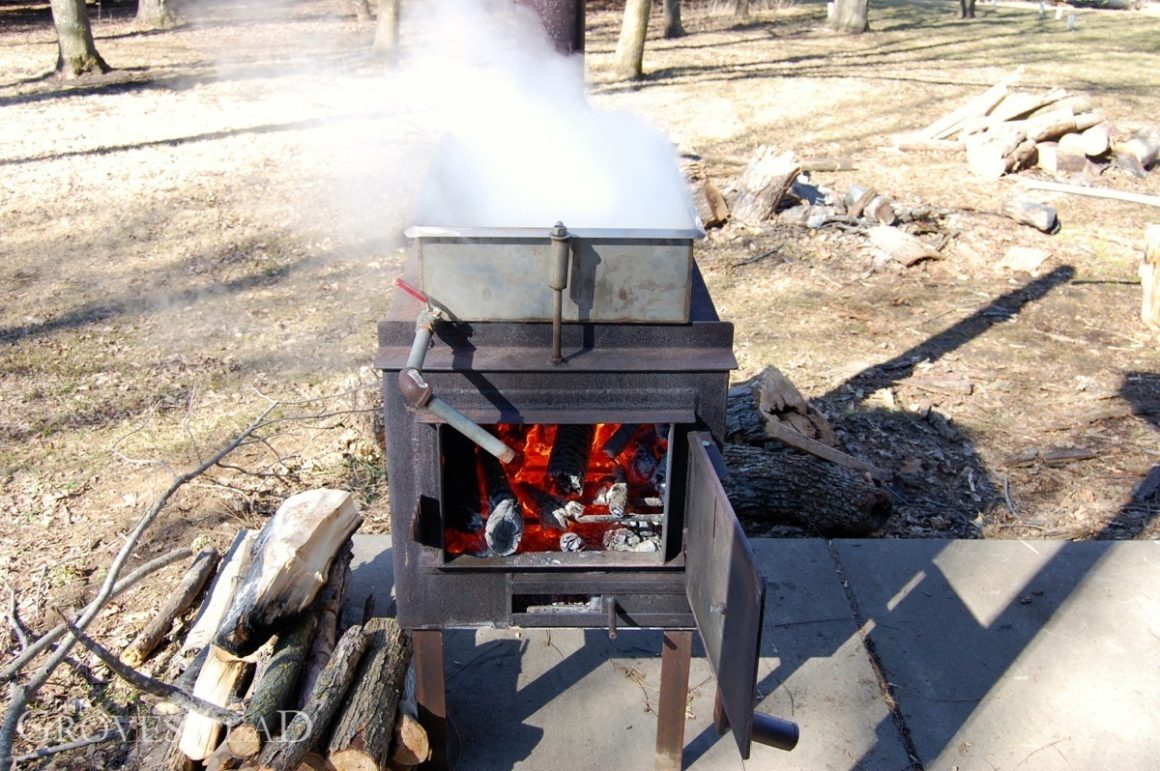
By far the most time intensive part of maple sugaring is the evaporating. Sap is 98% water, give or take, so depending on your setup you can spend many dozens of hours and an obscene amount of wood getting the sap boiled down to syrup. The last two years I hodgepodged together a cinder block evaporator. It worked, but was terribly inefficient and a bit dangerous. This year I had plans to build my own steel box evaporator and lucked out when a local welder offered to sell me his own at a great price.
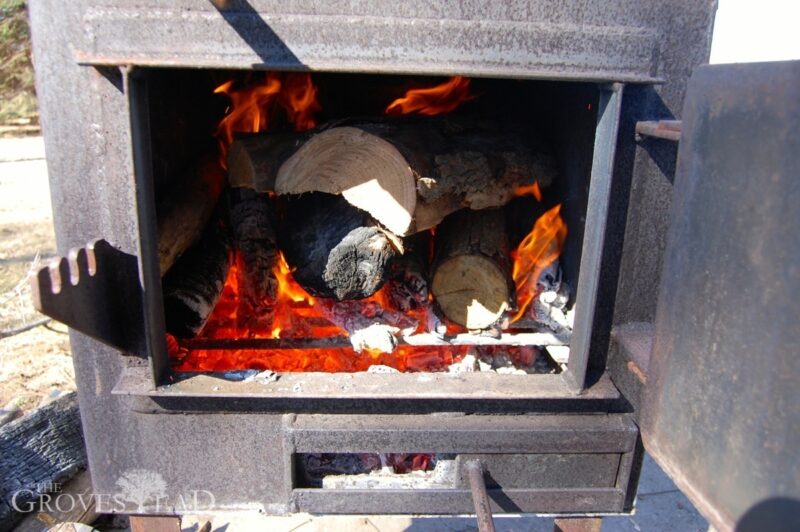
The firebox holds a tremendous amount of wood and the stainless steel pan can hold up to 15 gallons of sap at a time, although it is more efficient to boil a shallow than deep pan.
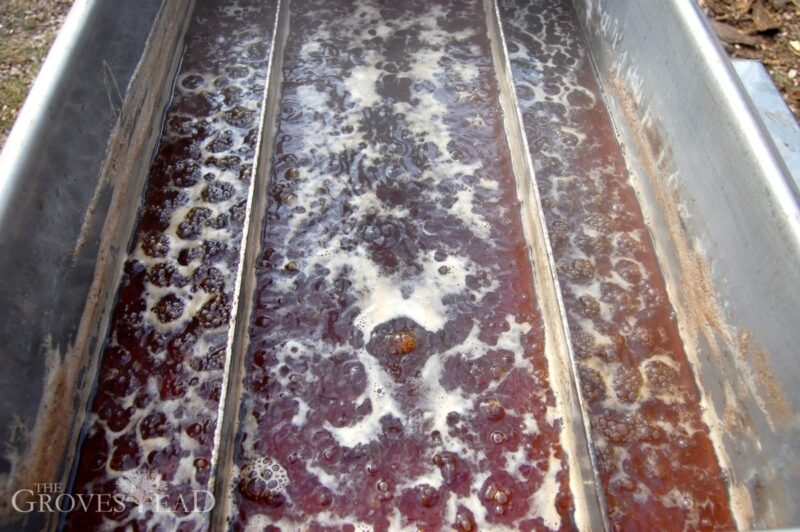
The goal is to keep a roiling boil for hours on end. Because it takes so much wood and takes so long to get everything heated up, I usually wait until I have 20 gallons of sap collected before evaporating.
The time required varies greatly by the weather. Colder, windy days take longer than calm, sunny ones. Next year I’ll make better use of firebrick and concrete blocks to insulate the steel from the wind and focus as much heat as possible to the bottom of the pan.
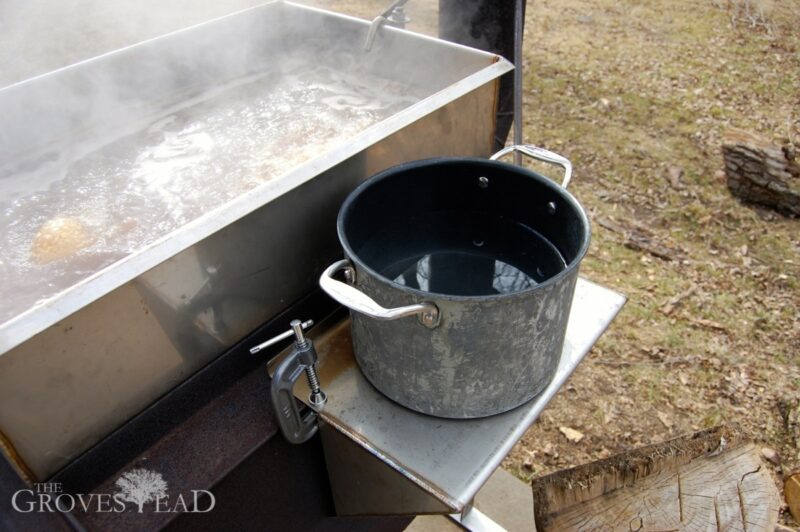
While the sap is boiling I have a second pan warming sap on the edge of the evaporator. Pouring cold sap into a boiling pan would kill the boil and slow down the evaporating. So everything you can do to pre-heat the sap saves time in the end.
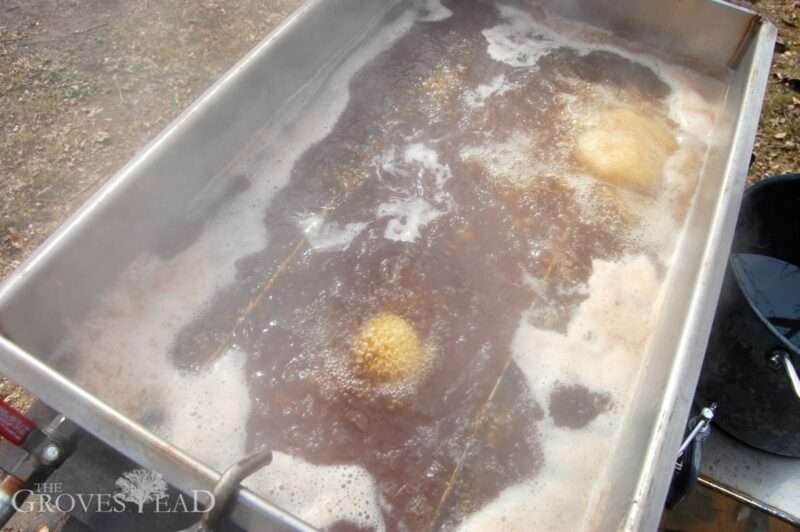
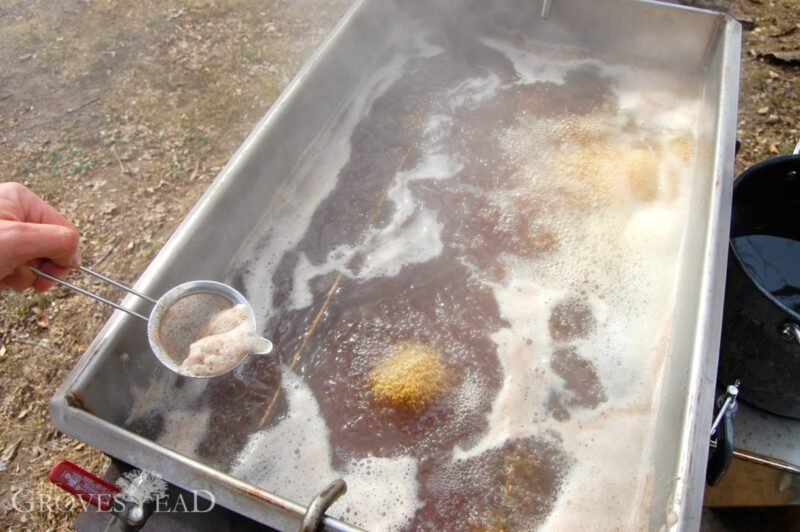
As the sap boils impurities foam up to the surface. Every so often I use a strainer to scoop off the foam.
That’s pretty much all there is to it. Feed the fire, add sap, strain. Repeat. The evaporating is done when the sap is reduced to a dark brown color and the sap/syrup is thickening. It’s usually pretty obvious when the consistency of the sap has changed.
Because the final stages of evaporating need to be tightly controlled, most people will “finish” the sap indoors on a standard range.
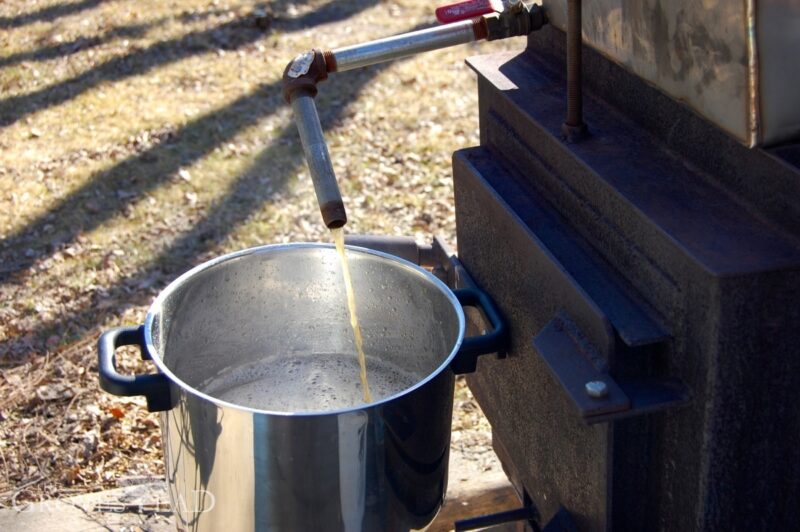
My new evaporator has a nifty drain spout. To get the sap/syrup out all I need to do is turn the spigot.
Finishing the sap
The final stage of making maple syrup involves getting the syrup to the right consistency. There are a couple of ways to do this. You can either measure the buoyancy with a hydrometer or use a candy thermometer to measure the boiling temperature. The boiling pot has to be watched closely because once the sap turns to syrup it can boil over quickly. I lose lots of syrup this way every year, despite my best efforts.
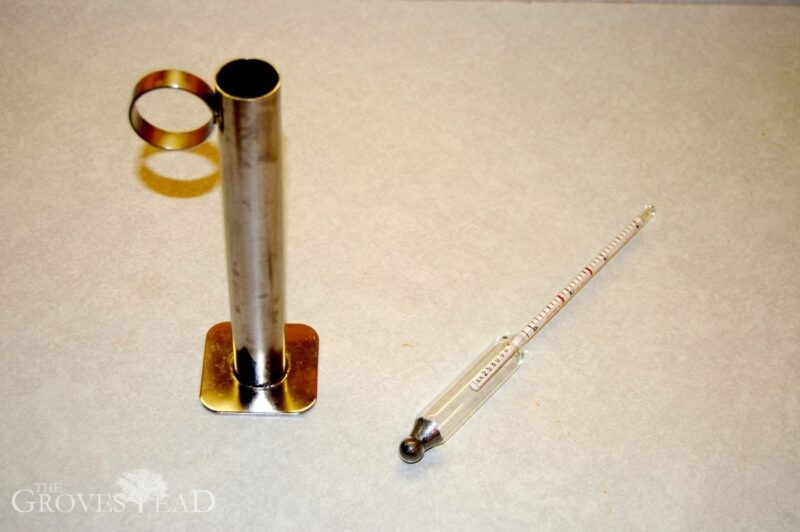
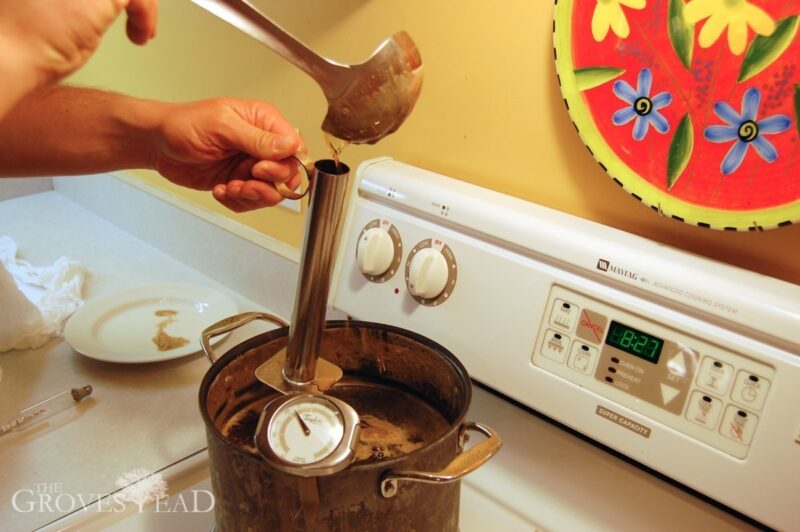
I like to boil at a medium-high heat taking periodic measurements with the hydrometer.
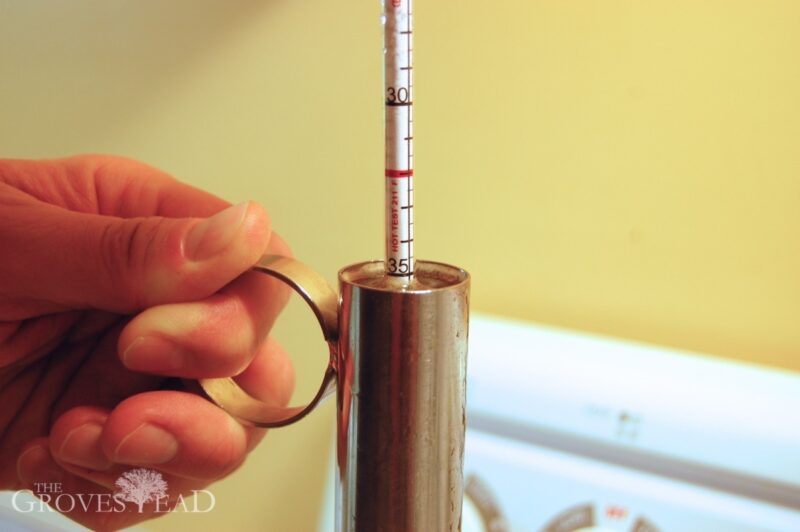
After ladling syrup into the cylinder container, I drop the hydrometer in and it floats to the measured density. A reading of 32 Baume (or 66 Brix)—the red line—means the syrup is done. Alternately, a candy thermometer reading of 7.1 degrees above the boiling point of water (219.1 for most of us) is considered finished syrup. It’s important that the measurements be accurate, otherwise the syrup may be too weak and not store well or be too dense and crystalize. That’s why finishing inside on a controlled stovetop is preferred.
Filtering and bottling the syrup
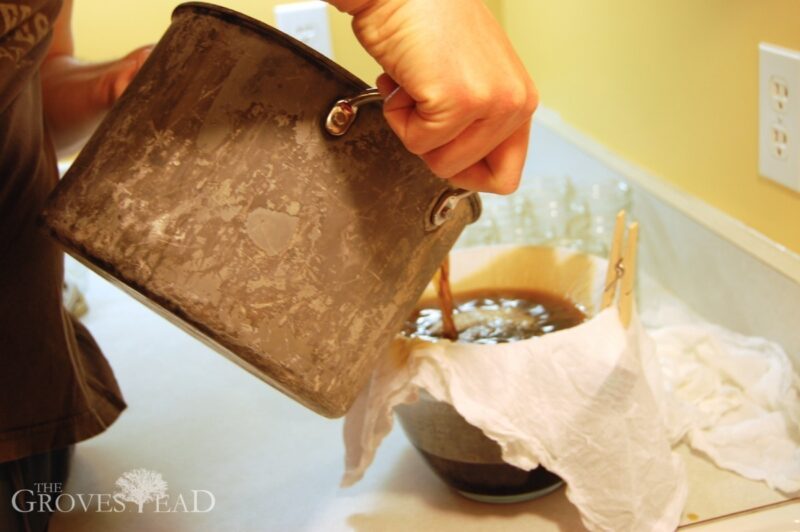
Now the syrup is complete and ready to bottle. First the syrup needs to be filtered. Some people use cheesecloth, but I prefer a dish towel folded in half (used only for maple syrup). In my experience cheesecloth is too porous and allows too many particulates through.
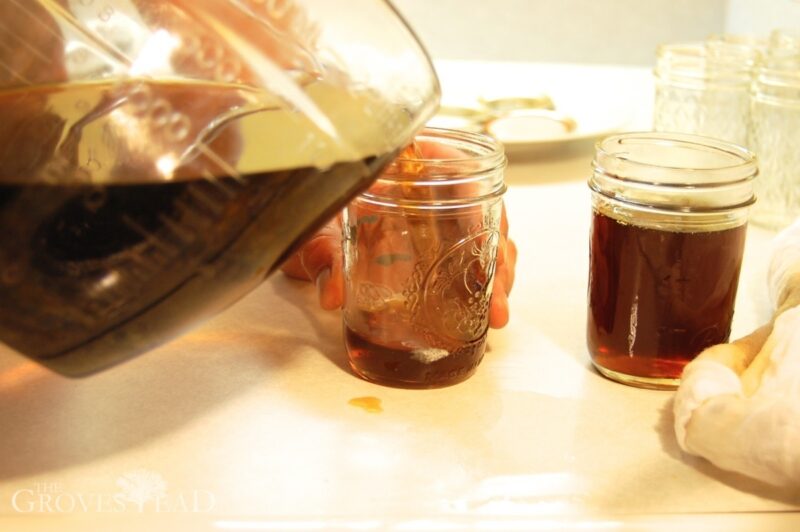
I can usually filter 2-3 pints at a time into a 2-quart bowl. Then I pour into pre-sterlized canning jars and screw on the lids.
Syrup does not need to be sterilized in a water bath like other canning products. As long as the containers are sterile the boiled and filtered syrup will remain extremely hot for a very long time and create a tight seal as they cool down. Tip: screw the lids down as tight as possible, then the next morning screw them a little tighter, if you can. I’ve had some jars lose their seal days or weeks later, presumably because the lids were not as tight after everything cooled down.
When you do open a sealed jar, it has to stay in the refrigerator from that point on. Pure maple syrup is different from the brown-dyed corn syrup you find in the grocery store and will spoil if not refrigerated after opening. Properly sealed syrup will last at least one year, but likely won’t make it that long once you have a taste for it.
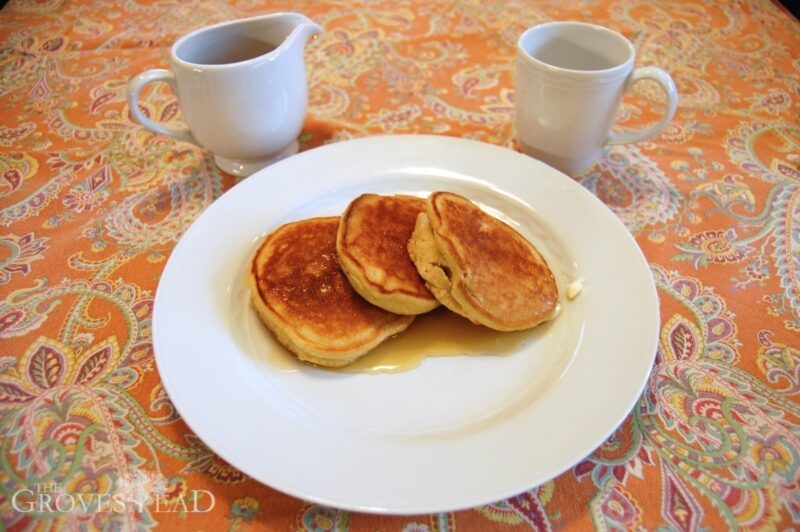
Last step: cook up some pancakes and enjoy.








11 comments
Great post! This was our third year boiling sap down. It’s such a time consuming, tedious process, but so rewarding in the end. Thanks for sharing your sugaring process! Take care.
Dude, Now I know where to go for honey and maple syrup!!!
Thanks for th great step by step tutorial on finishing off maple syrup. My syrup wasn’t as dark as yours. Does the colour vary, because mine is a caramel colour and very thick. Did I boil it too long? Thank you in advance for your comments.
Color and taste will vary greatly depending on the time of year (early spring-late spring) as well as boil times (slow boil..rapid boil).
I actually like the lighter-amber colors, they are sweeter. But the darker colors have a buttery taste that is delicious too. Variety in nature is amazing!
Check out this photo of our finished syrup all from the same year! https://www.pinterest.nz/pin/289145238562778529/
Can I cook all my sap which is about 300 gallon with a continuous drip of fresh sap into the boiling pot before I do the final cooking or will it scorch from being boiling too long
Yes, you can continuously feed fresh sap until you are done with a batch. That’s what we do. But unless you have a very efficient evaporator, 300 gallons is probably a lot to do in one firing. We typically max out around 50-60 gallons per day. Your mileage may vary.
If you don’t finish boiling down the sap in one go can you leave it and resume boiling later or will that have a negative effect on the finished product?
Hi Cammy,
Yes, you can do this with a few caveats: 1) I would not recommend leaving sap in the evaporator pan. Once you start evaporating, get it close to the finishing state, then empty to different pans to save. 2) You will need to refrigerate unfinished sap (or freeze it). This means it will take a long time to warm up to boiling again to finish (maybe an extra 30 minutes to hour). So you are wasting a lot of energy as opposed to finishing everything the same day. 3) You can’t store for very long. I wouldn’t wait for more than a day or two, and this is based from personal experience. I put a batch in the fridge once (after spending the whole day evaporating). About 1 week later I got it out to finish and it was full of mold! Had to throw all that work out.
Hi I have a question? Is the sap evaporated and collected on the same day? And why?
The sap can be collected over a period of several days then boiled all on the same day. The sap is sugar-water and will ferment/spoil if left above refrigerator temps too long.