I normally wouldn’t detail how to build a raised bed garden—its just a box, after all. But when a friend of mine who is starting his own backyard garden asked for blueprints I thought it might be a good idea to throw a few pictures together.
There’s no wrong way to build a raised bed, this is just my preferred approach after a few years of trial and error.
What you will need:
- Lumber:
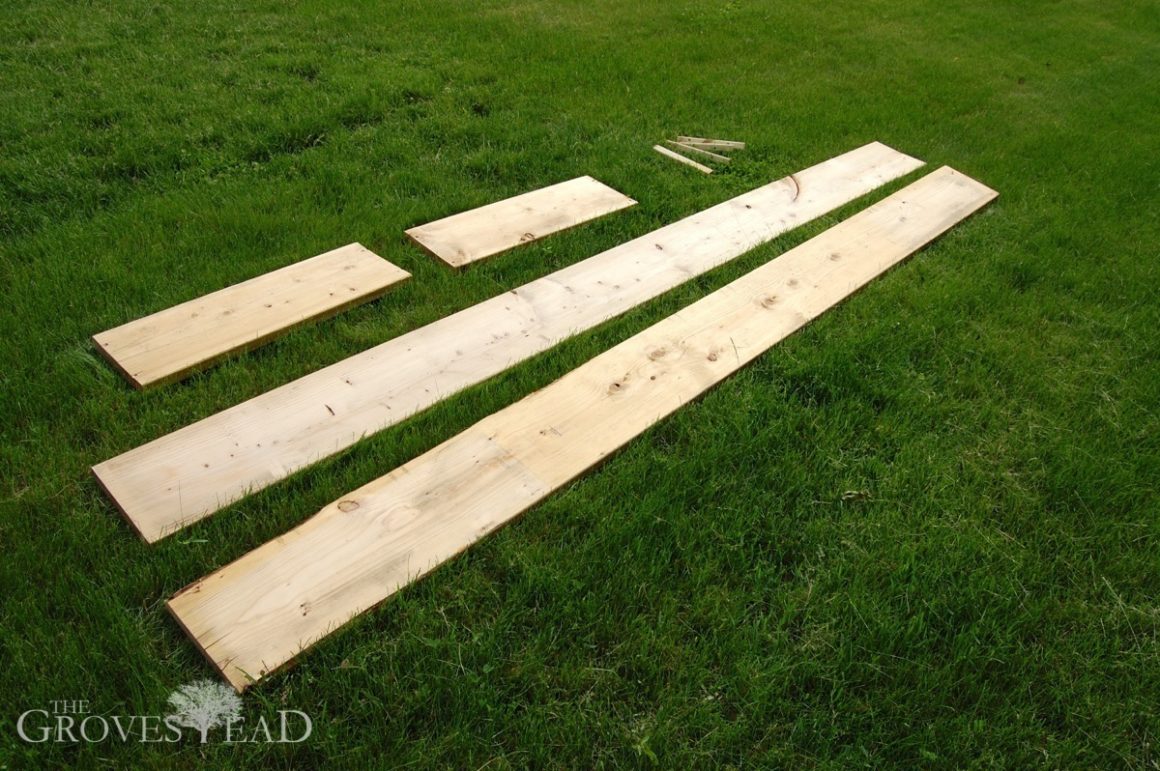
- 4 pieces of 2″x10″ untreated boards in whatever dimension you want your garden
- 4 pieces of 2″x2″ (buy one 8′ 2″x2″ and cut it into 12″ lengths)
- Tools:
- Miter saw (hand saw would work fine too)
- Socket wrench (probably 7/16″ head, depending on the bolt)
- Drill with 5/16″ bit
- 2 Clamps
- Hardware (for each bed):
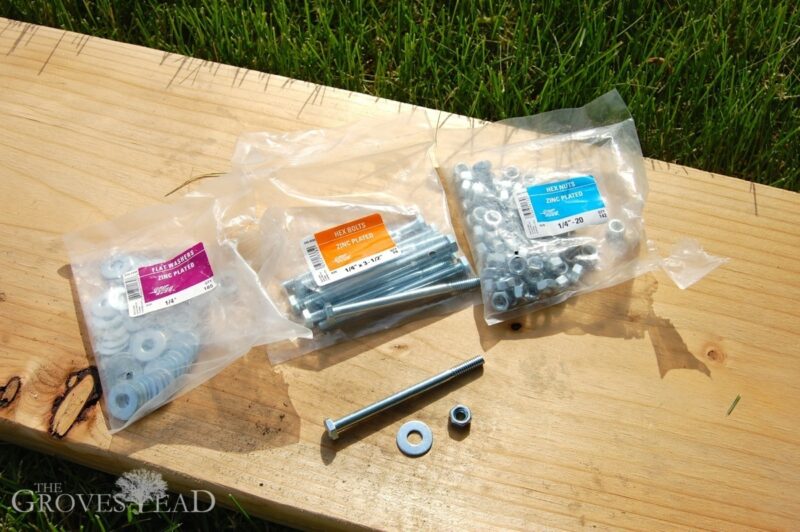
- 16 qty 1/4″ x 3 1/2″ bolts (hexagonal head)
- 32 qty 1/4″ washers
- 16 qty 1/4″ nuts
Step 1: How big?
The first step is to decide how big you want your bed. This is a purely personal preference and depends on where you will situate your bed on your property. In my case, I have a huge space to fill, so my beds are very large, 12′ by 3′ each.
A couple of tips:
- Unless you are planting shade-tolerant plants, you will need at least 6 hours per day of sunlight for your garden to thrive, the more the better.
- Don’t make the ends of your beds wider than 3 feet, or it becomes difficult to work in the middle when you need to.
Step 2: Buy, measure, and cut your lumber
After you know the dimensions, go buy the lumber from your favorite hardware chain. I recommend untreated lumber for the sides and ends. Treated lumber isn’t made with arsenic anymore, but just to be safe I’d rather err on the side of rotting wood than seeping chemicals. One caveat, I use treated lumber for the stakes holding the edges together because the wood is so much stronger and the exposure is minimal.
The lumber for an 8′ x 3′-sized box should run you around $25-30.
Tip: When picking out lumber pick the straightest boards you can find. You may have to pick through 3 or 4 warped boards (or 7 or 8 or 18) to find a straight one, but you will save yourself a lot of time and frustration later.
Cut the sides and ends to your desired dimensions and cut the 2×2’s just longer than the height of the boards (e.g., 12″ if you have 10″ boards). This extra edge will help hold the bed in place when set into position.
Step 3: Drill the holes
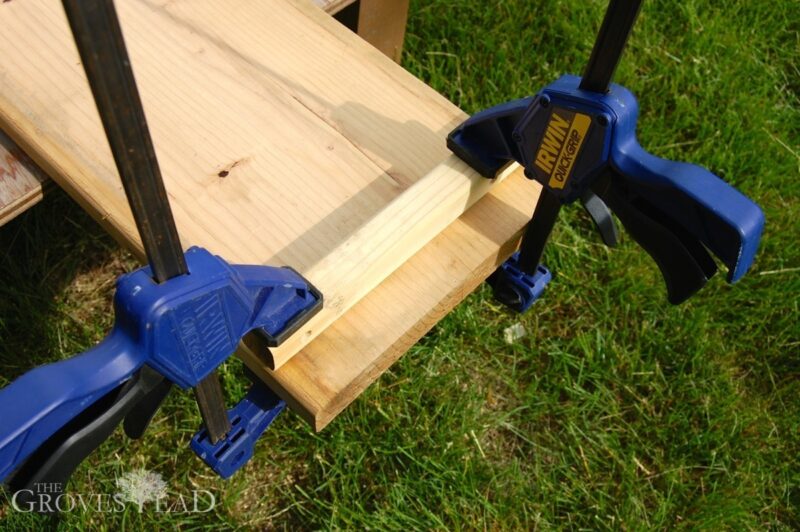
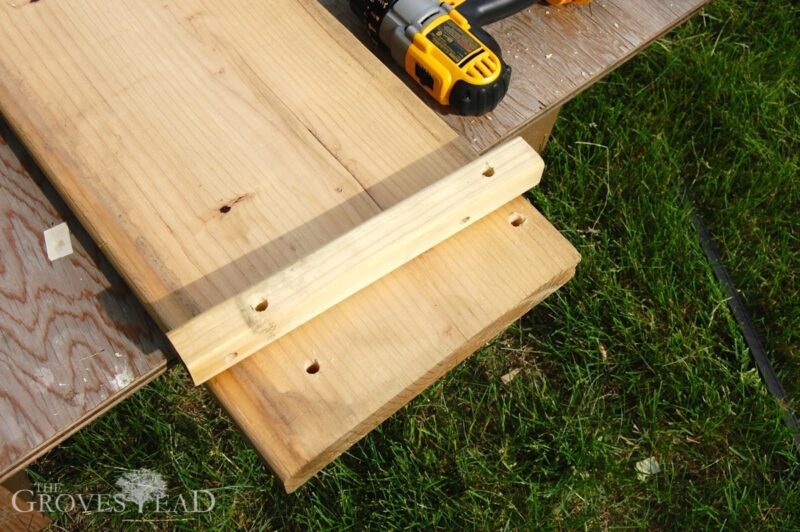
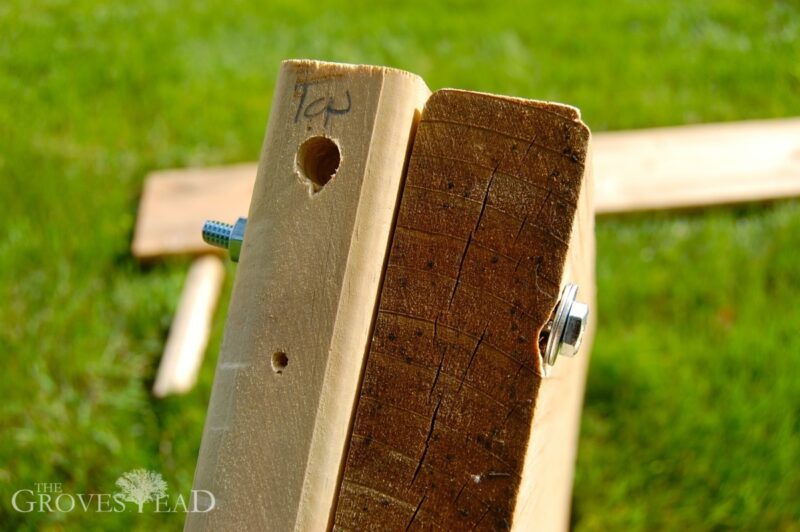
This is the most difficult and time consuming part of the project. If you have access to a drill press I would highly recommend using one. Basically, what you need to do is drill two holes through the end of each board and the stakes that hold them together. Because the holes need to line up perfectly, and hand-drilling is always imperfect, this will only work if you clamp the stakes to the boards and drill through them together.
Align one stake with the edge of the end boards. The stake should align evenly with one side and overhang 2″ on the other.
Make sure to mark which stake matches which board-end, otherwise your slightly imperfect angles will make it impossible to slide the bolts through later. Also make sure to mark the “top” of the stake and board (the top will be the evenly-aligned side, the bottom will have the 2″ overhang).
Repeat this hole-drilling until all ends of the boards and stakes have been drilled. Note that holes in the side boards will need to be inset an extra 1.5″ to allow for the end boards to fit properly.
Clear as mud? It’s not really that bad. Temporarily assemble joints as you go and it will be obvious where you need to drill.
A drill press would greatly simplify this step by allowing you to drill perfectly straight holes in all pieces without the need to clamp and mark everything.
Step 4: Assemble the box
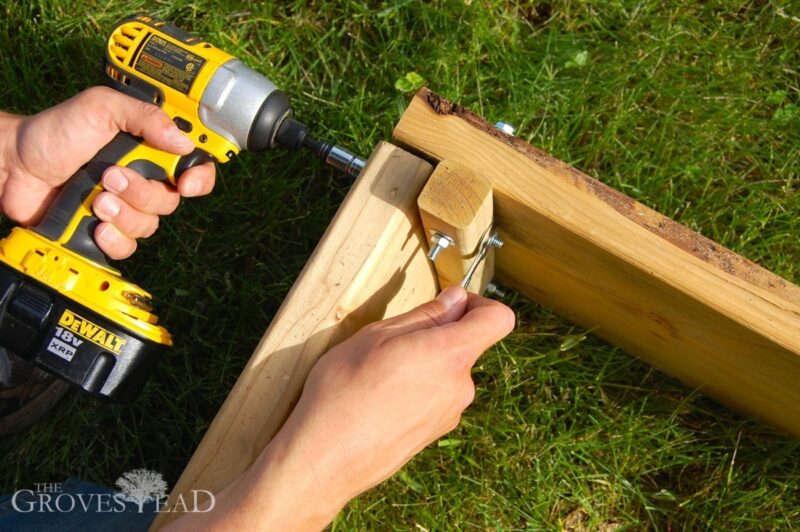
If all your holes are drilled correctly, this is the easy part. Line up your stakes with the end boards, place a washer on both ends and slide the bold through and fasten.
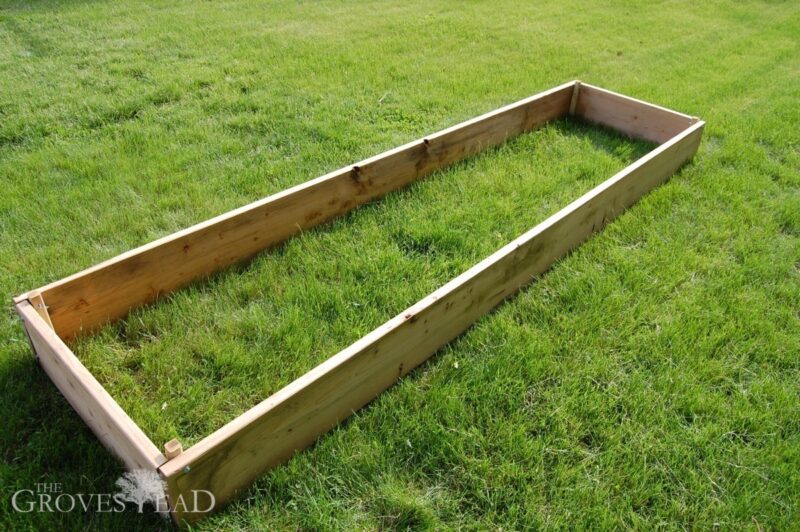
Stand up the side board against the end board and repeat the process. Now your raised bed is taking shape!
I used a socket bit with my drill to speed up the assembly. Its a good idea to assemble the bolts loosely at first, then go around and tighten when all the boards are in place.
You’re finished building the raised bed!
Step 5: Start gardening!
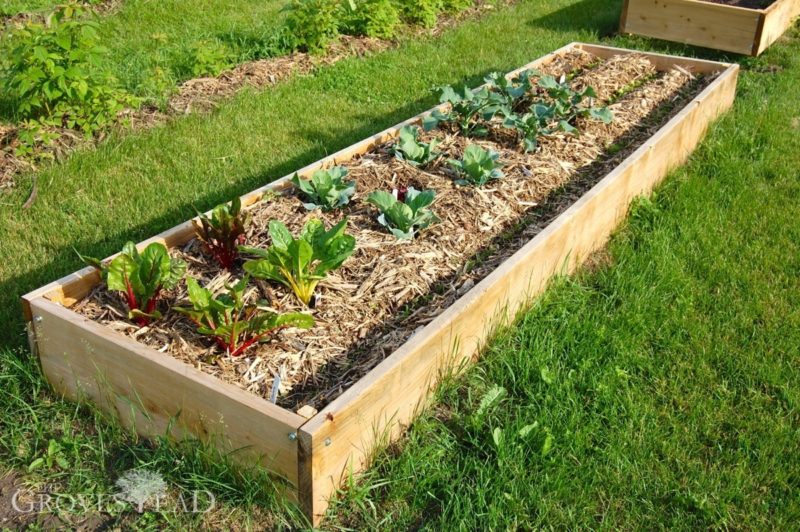
Carry the bed into place. If you have uneven terrain, you might need to dig a little sod out to make a level base. If you are setting directly over lawn, place a biodegradable paper mulch (like newspaper) down first to suppress the grass.
Next, fill with good garden soil. Pre-mixed store soils can be awfully expensive, so if you have access to a community compost site, use it! If you are starting from scratch, a cheap and simple soil mix would be 50% compost, 50% peat moss (coarse vermiculate is a great ingredient too, but very expensive).


















2 comments
I forgot to mention the reason for the 1/4-inch bolts instead of simply wood screws. I built boxes last year using decking screws and many of them broke in half before the season was over due to the sheer weight of holding in all that dirt. For a little more effort (pre-drilling) you get a lot of extra strength with the bolts.