This year was my first serious attempt at starting seeds indoors. Oh, I’ve made half-hearted attempts before, trying to get through a long Winter, planting random herbs in peat pods in the window sill. But this year I had the full-on grow lights and racks set up. This year was For Real.
I was gifted growing racks by my dear neighbor Alison who lived next door to us before we moved here. Alison was a master gardener who taught me a lot when I was just getting started with a few raised beds in the backyard.
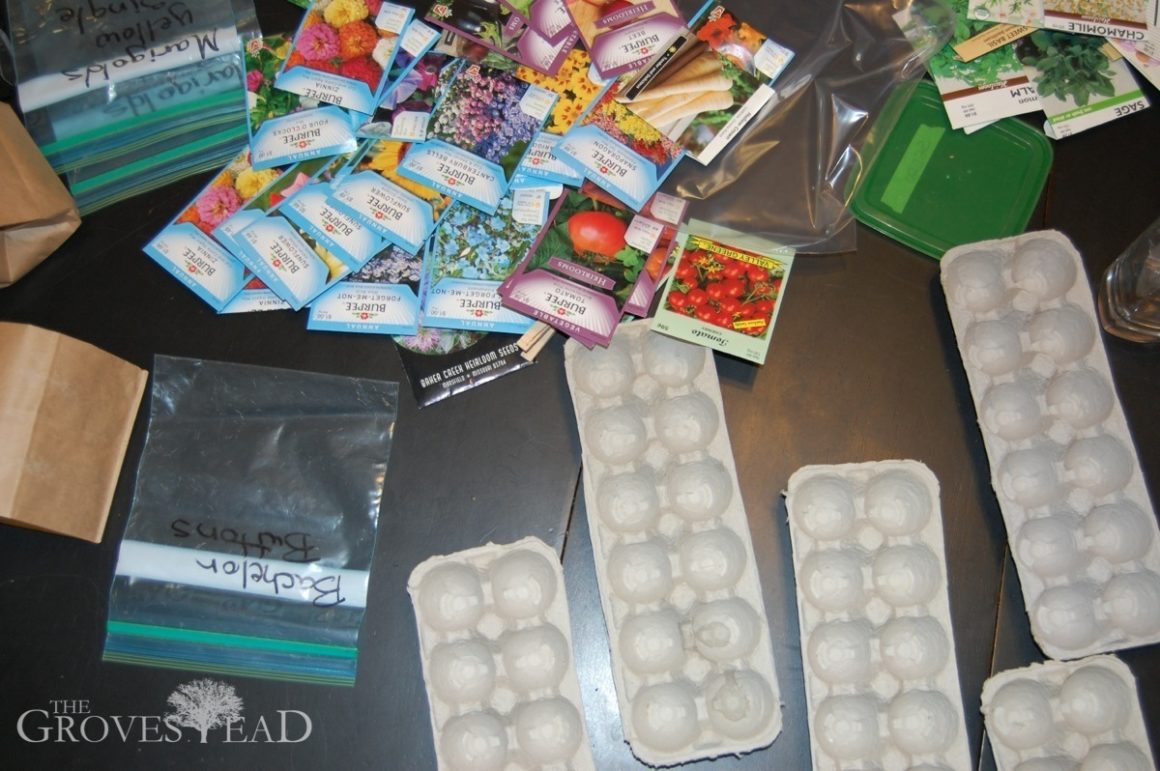
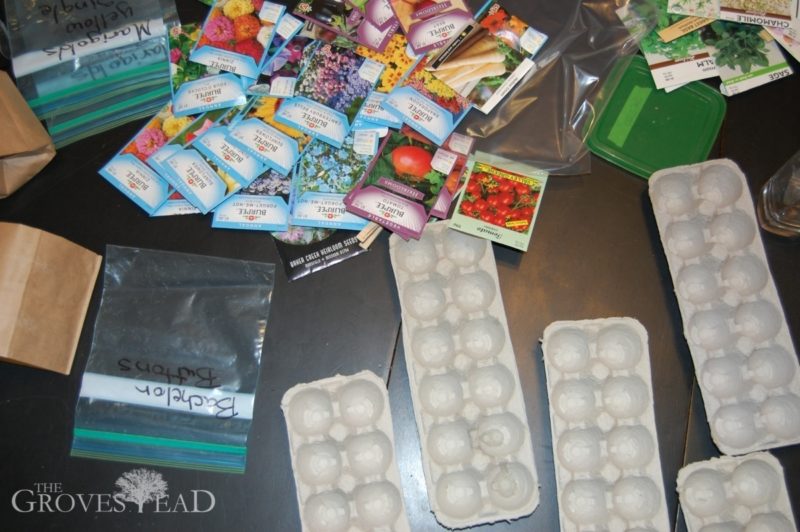
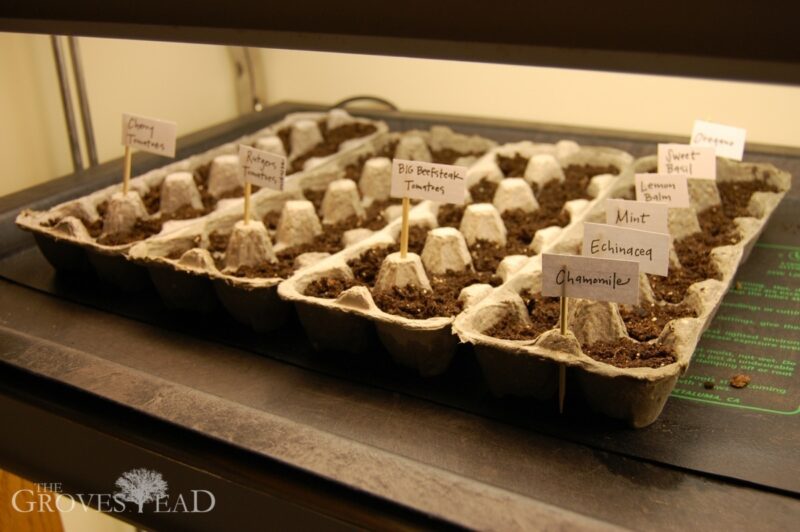
Our setup was pretty simple. A few varieties of heirloom tomatoes, an assortment of herbs, and some flowers. We planted in egg cartons and set on a warming mat to help with germination. This isn’t necessary, it just speeds up germination. The most important thing is after germination, when you see the first sprouts, to get seedlings as close to the light source as possible, within 1-2″ of the bulb. Then you keep adjusting the lamp as they grow to always stay a few inches above the leaves.
It can be easy to drop a lot of money on grow lights, but all you really need is two fluorescent (tube) lights, one “cool” and one “warm” to get the full spectrum of light your seedlings need. Of course, don’t forget to water daily. Missing even one watering can kill your temperamental seedlings.
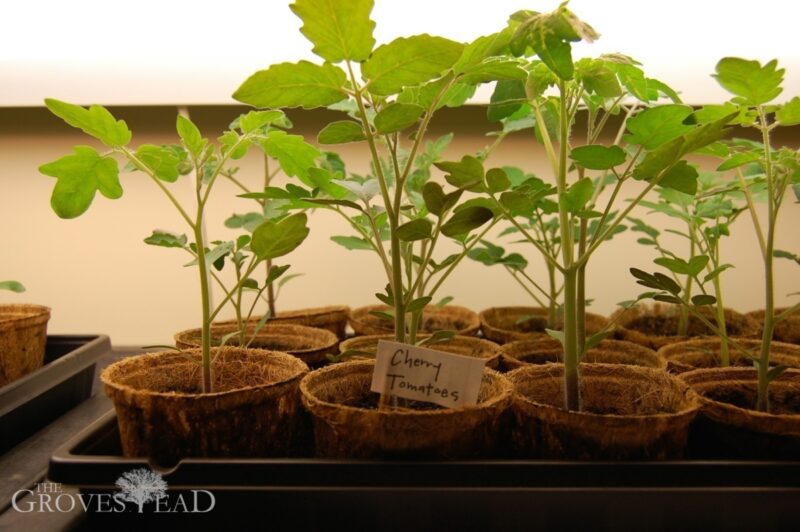
After about 6 weeks the seedlings will need to be transplanted into a larger pot. One of the signs of an over-cramped seedling is yellowing leaves. A healthy plant should maintain bright green foliage throughout the growing cycle.
Finally, as you near the last frost date its time to start hardening off the seedlings. This is a process of exposing the seedlings to the outdoors gradually. I started leaving them out in a shaded area for 2 hours a day and gradually increasing until they were in full sun most of the day.
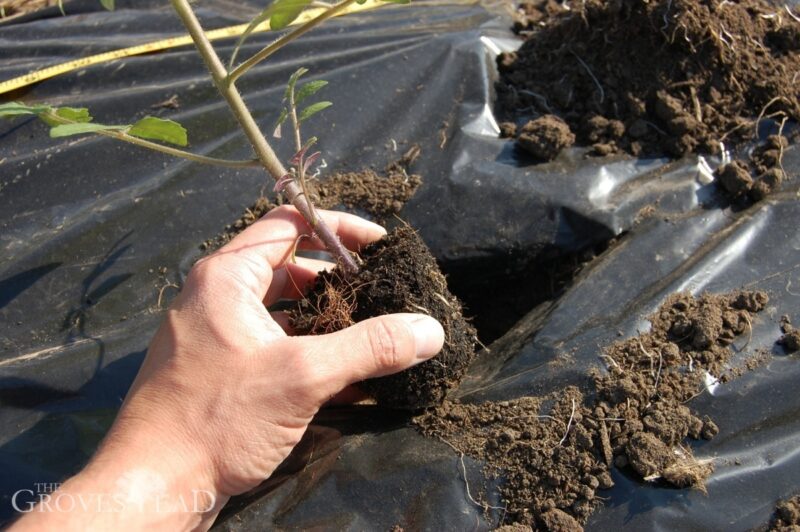
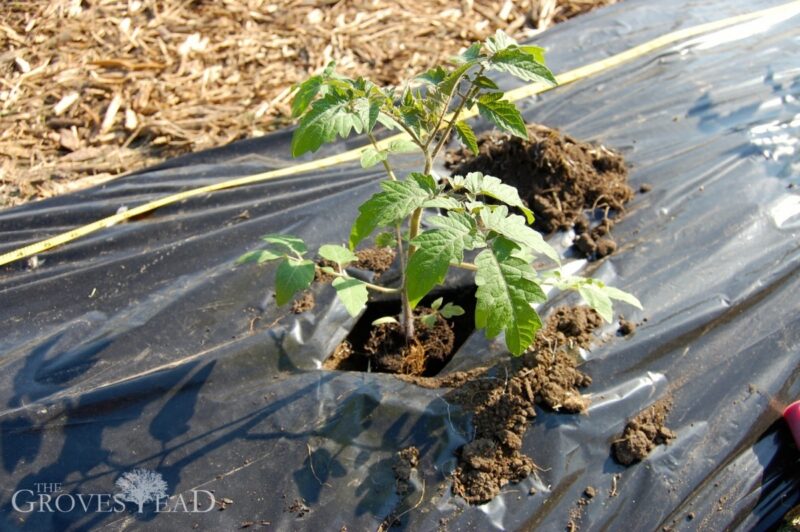
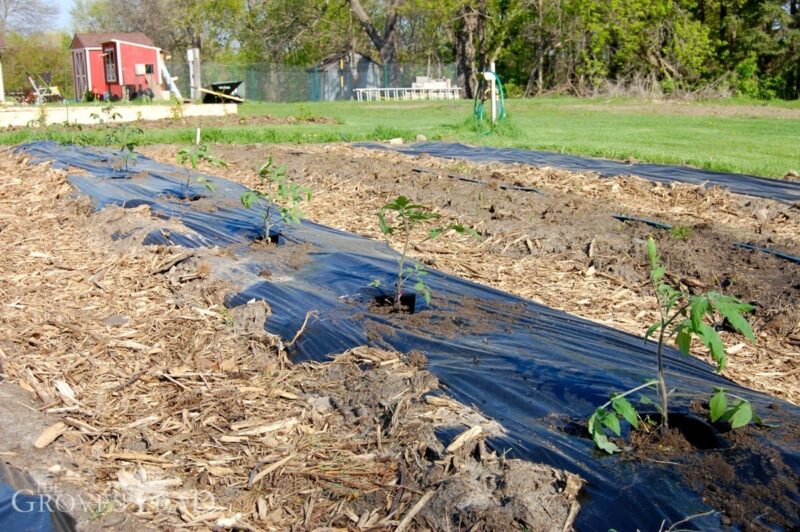
Finally comes the transplanting day. This is a moving target. This year it was a few weeks later that usual, so my tomatoes were a bit cramped for awhile waiting for their new home, but eventually they made it!
I love the idea of starting from seeds. The everyday sight of growing plants in our kitchen became a welcome distraction in those bitterly cold last weeks of Winter. Even more than starting from seed, I love the idea of saving my seed to replant the following year. I’ll have to circle back at the end of the season and write about that.
Overall, I’d say the experiment was a success. Most of what I started survived and is transplanted into the garden. There were a few things I’d change, however. Here is a shortlist of what I’ve learned:
1. Don’t use egg crates.
They look cute, but they don’t hold enough soil for the seedlings to establish proper roots. The paper crates also wick moisture away from the soil, so you’ll find yourself watering a lot more often than normal. Next year I’m going to use plastic 6-packs.
2. Use potting soil with fertilizer included.
Many types of seed starting soil mixes (peat and vermiculite) do not include any fertilizer. This is fine and actually preferable if you want more control over the fertilizing regimen. But that means you must introduce fertilizer into your seedlings’ growing schedule at the right time (not too soon or too much, or you’ll burn the roots). I’ve found the potting soil with slow-release fertilizer included was just plain easier. The seedlings that went into this soil easily outperformed the other (compare above photo), without paying any special attention.
3. Water the soil before you fill the pots.
We found it a lot easier to mix up the soil with water before planting the seed, rather than watering after planting the seed which can disrupt the placement and take more time.
4. Only start what you can’t sow direct.
It’s a lot of work to water, transplant, harden off and finally plant your seedlings. Reserve this extra workload for those plants that really need the extra growing days.
5. Don’t start too soon.
Timing can be tricky with seedlings. You don’t want to start too late, but you don’t want to start too early either. Seedlings won’t do well in over-cramped pots, waiting for the weather to cooperate so they can be transplanted. Best to follow the planting instructions on the seed packets to figure out exactly when to plant indoors.
6. Plant more than you need.
Some seeds won’t germinate. You’ll forget to water. If you plant more than you need, it won’t be as big of a crisis when you’re 4 weeks into the process. When it comes time to plant, pick the healthiest and hardiest seedlings to transplant. The rest can be discarded or given to neighbors. Also, tomato starts make great Mother’s Day gifts!
7. Ask for help.
Most of what I do here, I’m doing for the first time. I rely on advice from gardening nurseries, neighbors, and my own Internet research. One of my favorite places for advice is gardening forums on the Web. An active forum can be a goldmine of information for the new (or experienced) gardener. I highly recommend GardenWeb. With literally hundreds of gardening topics from Azaleas to Vermicomposting and thousands of active members, this site can answer just about any question you can put forth.


